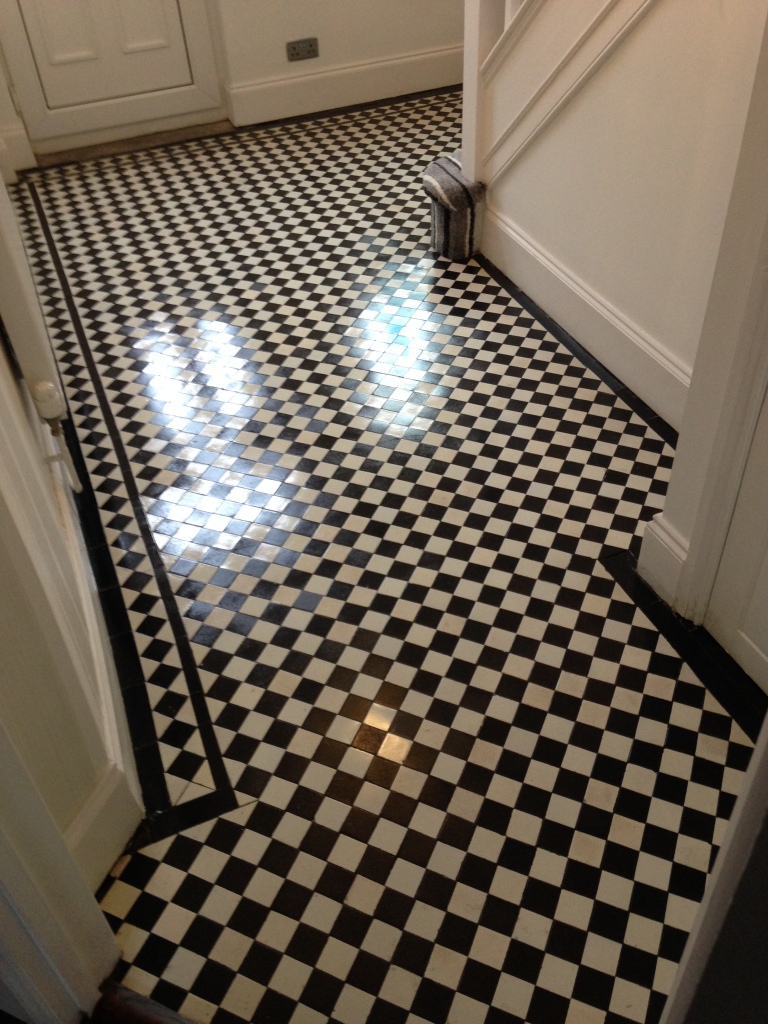
Deep Cleaning 70 Years of Ingrained Dirt from Victorian Floor Tiles in Crosskeys
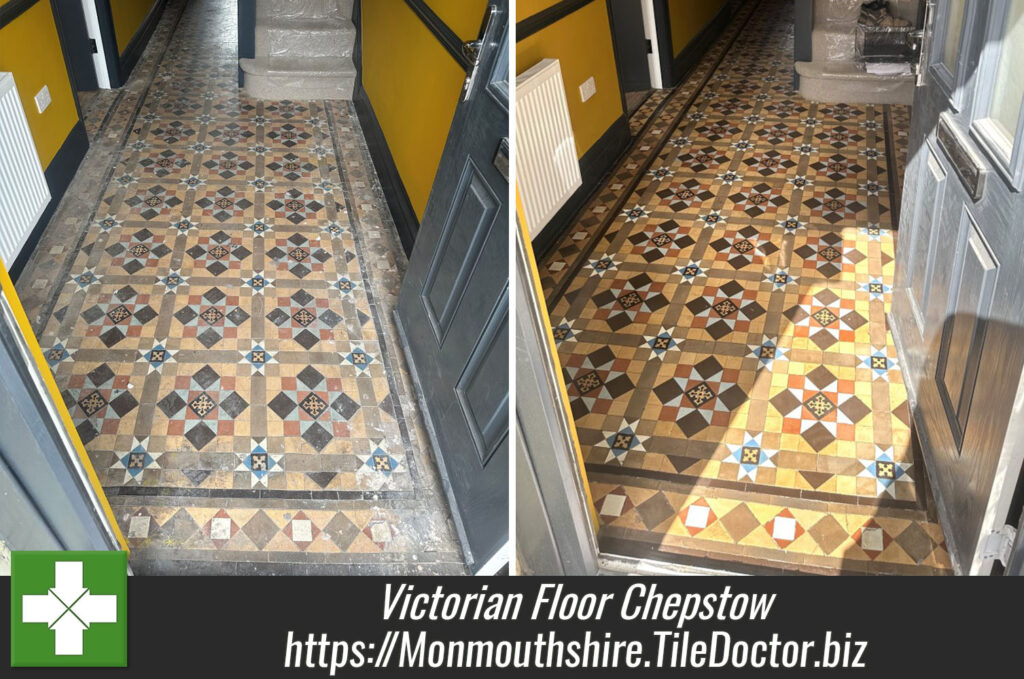
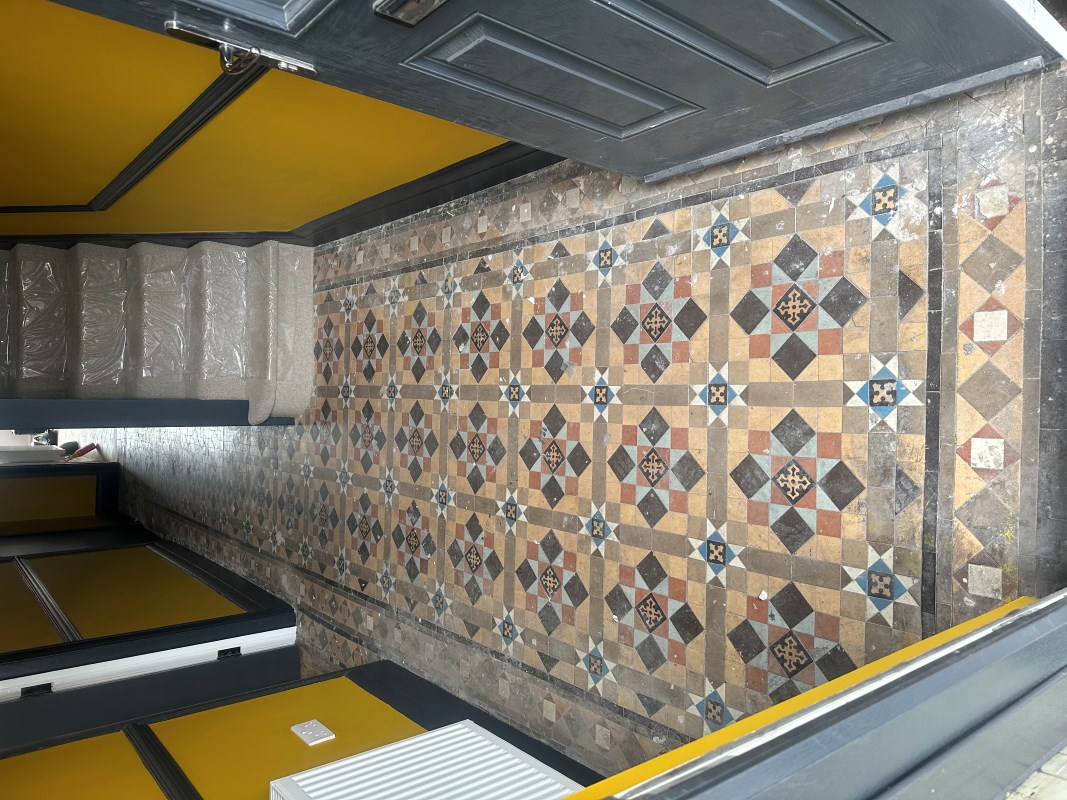
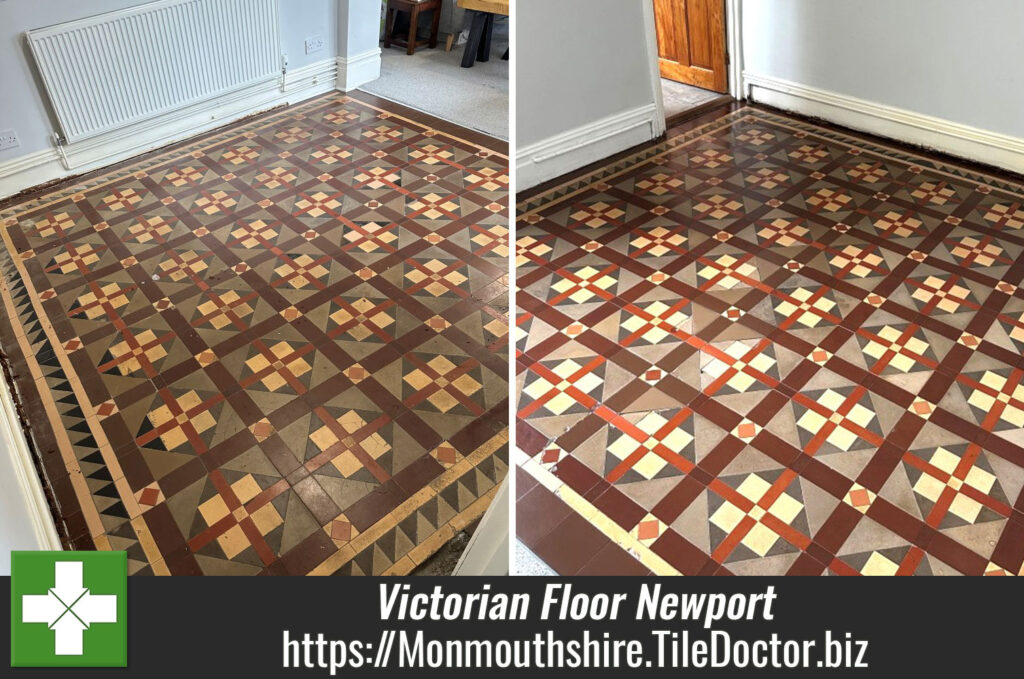
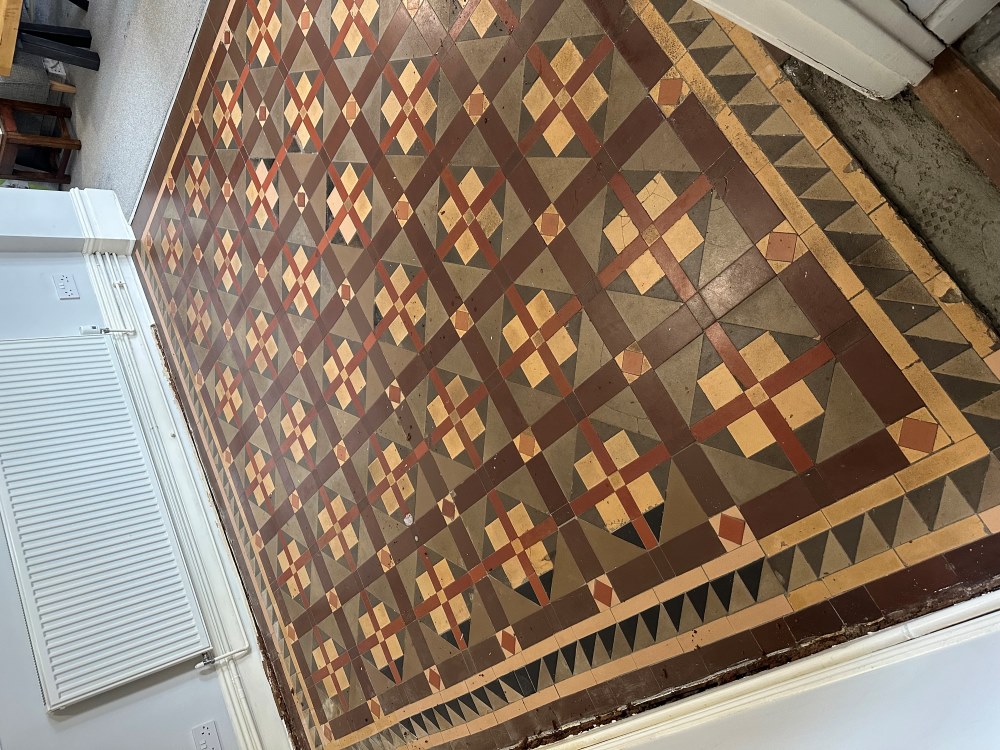
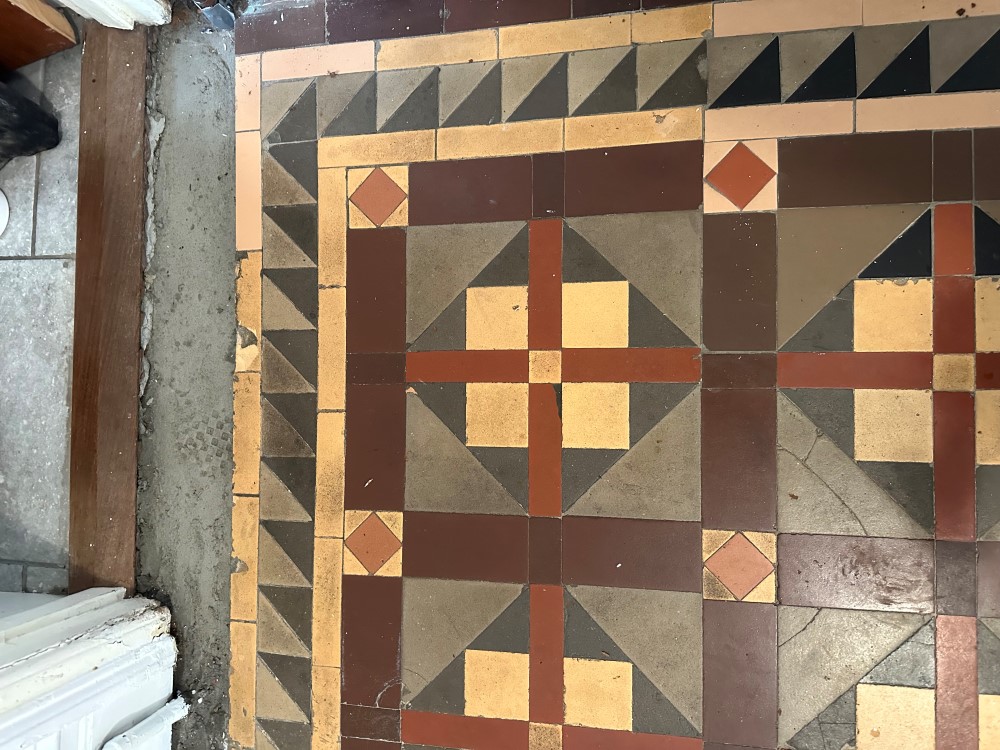
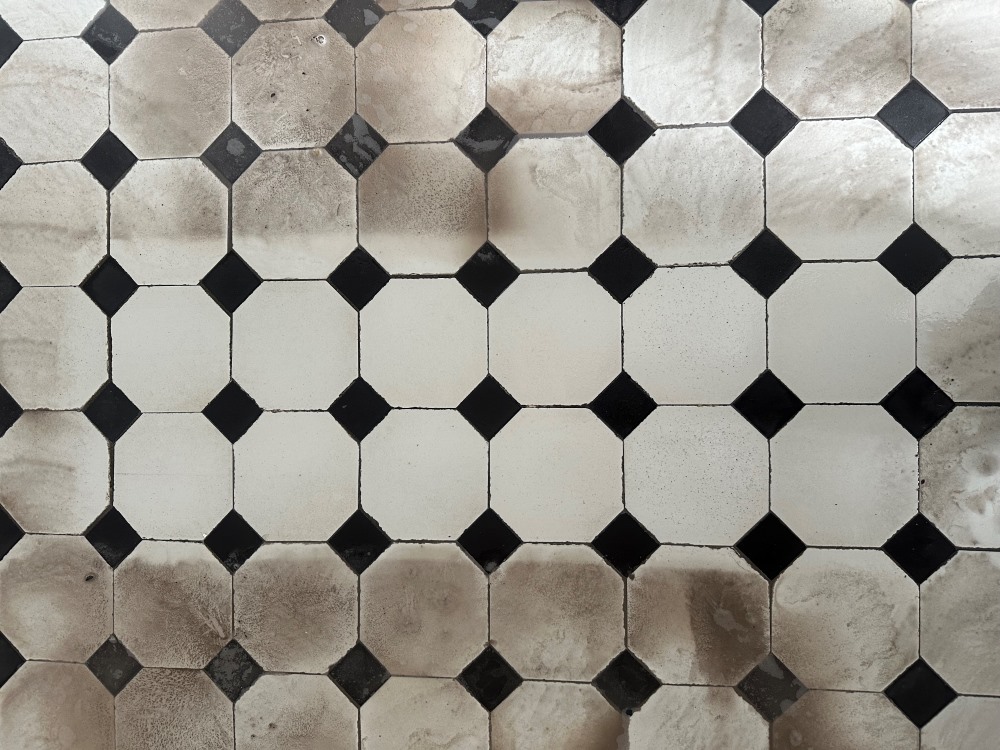
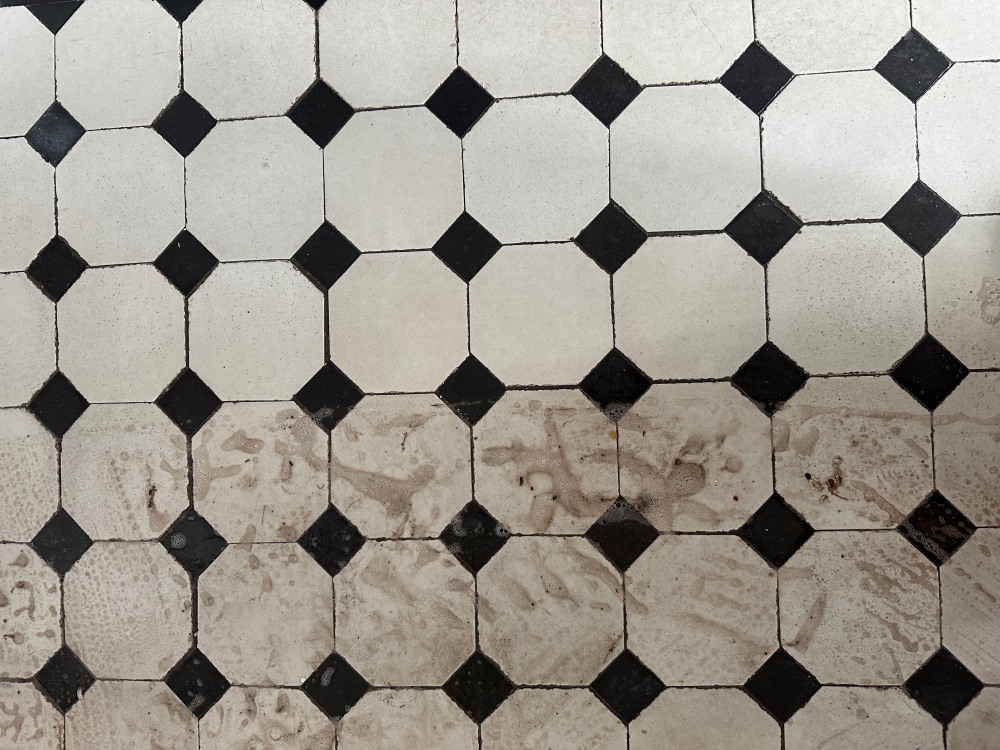
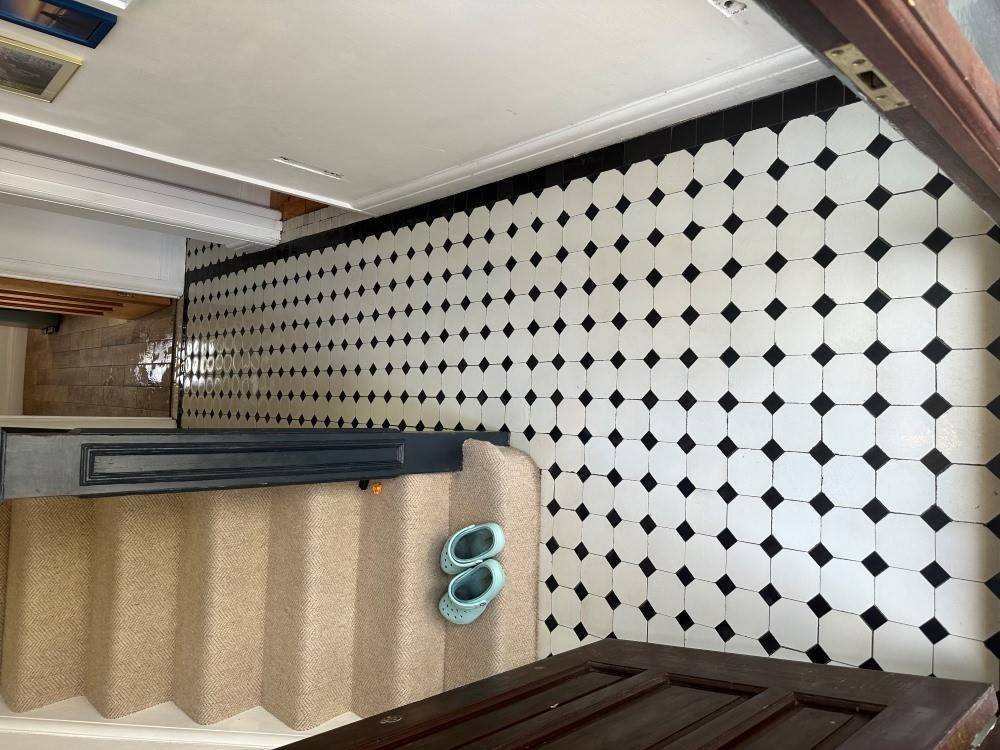
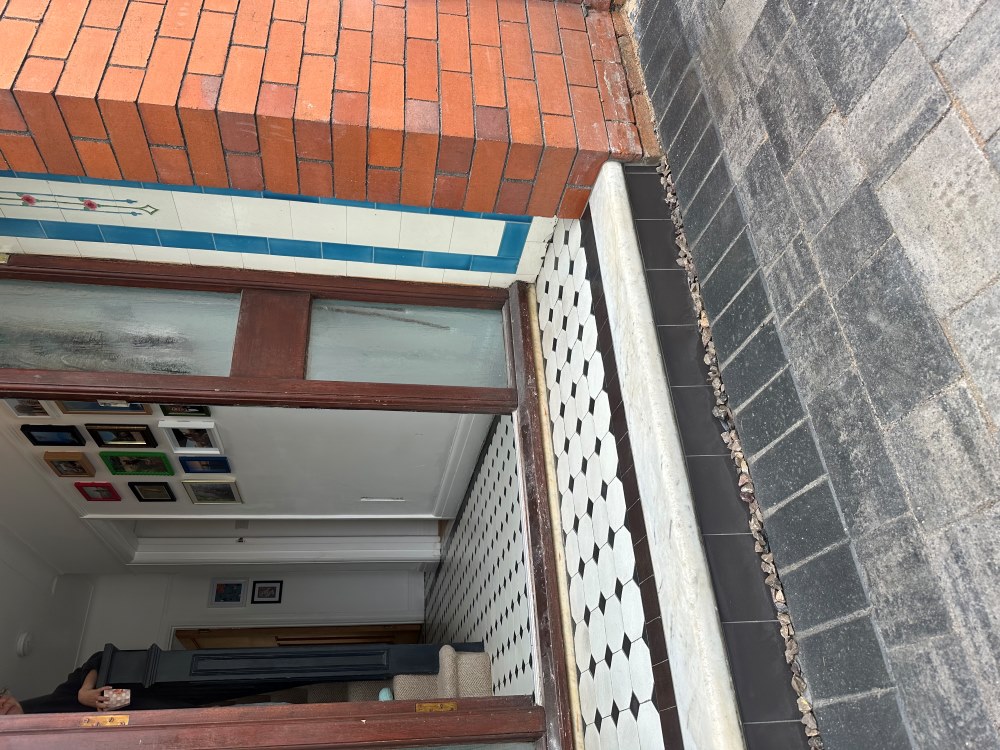
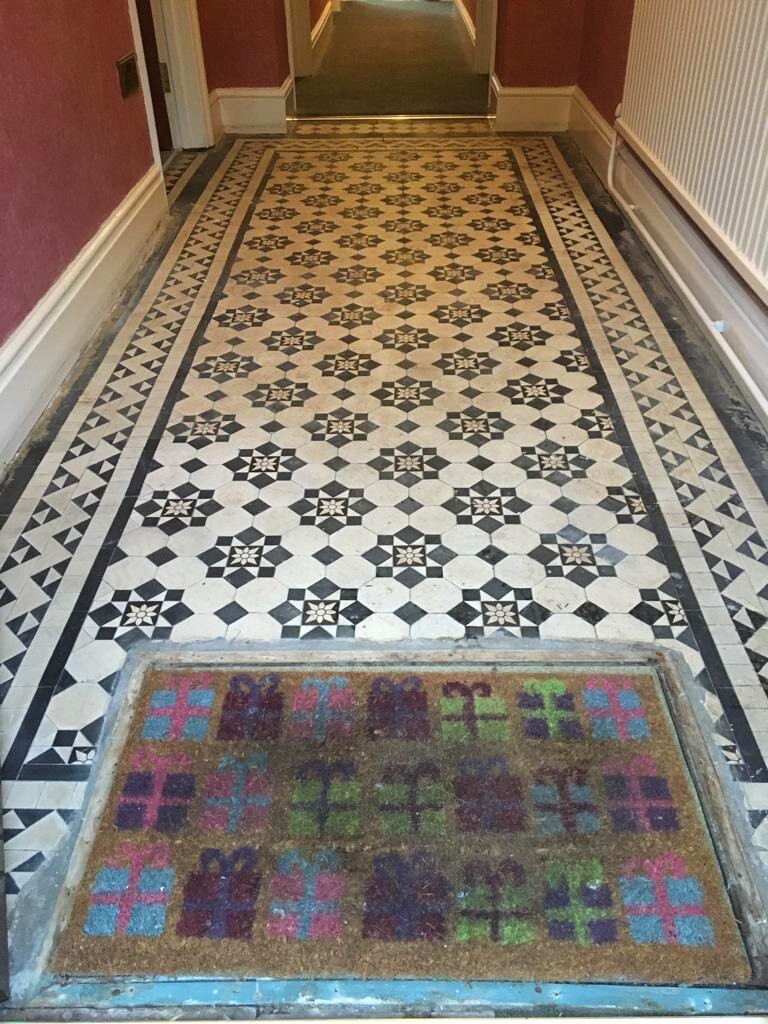
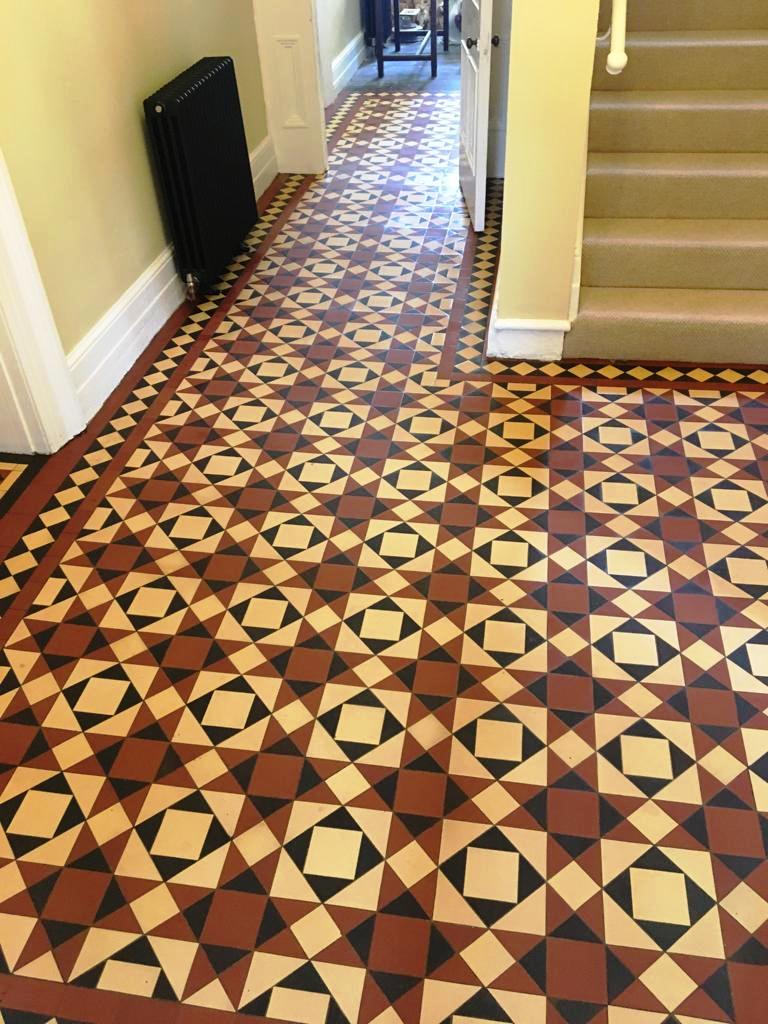
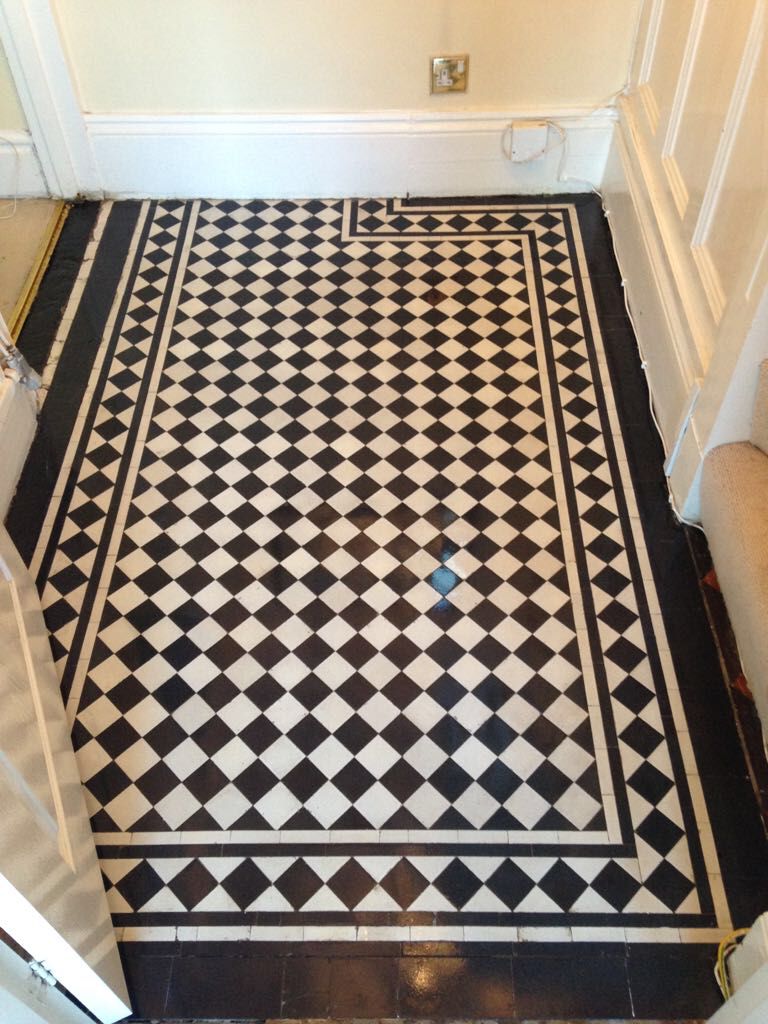
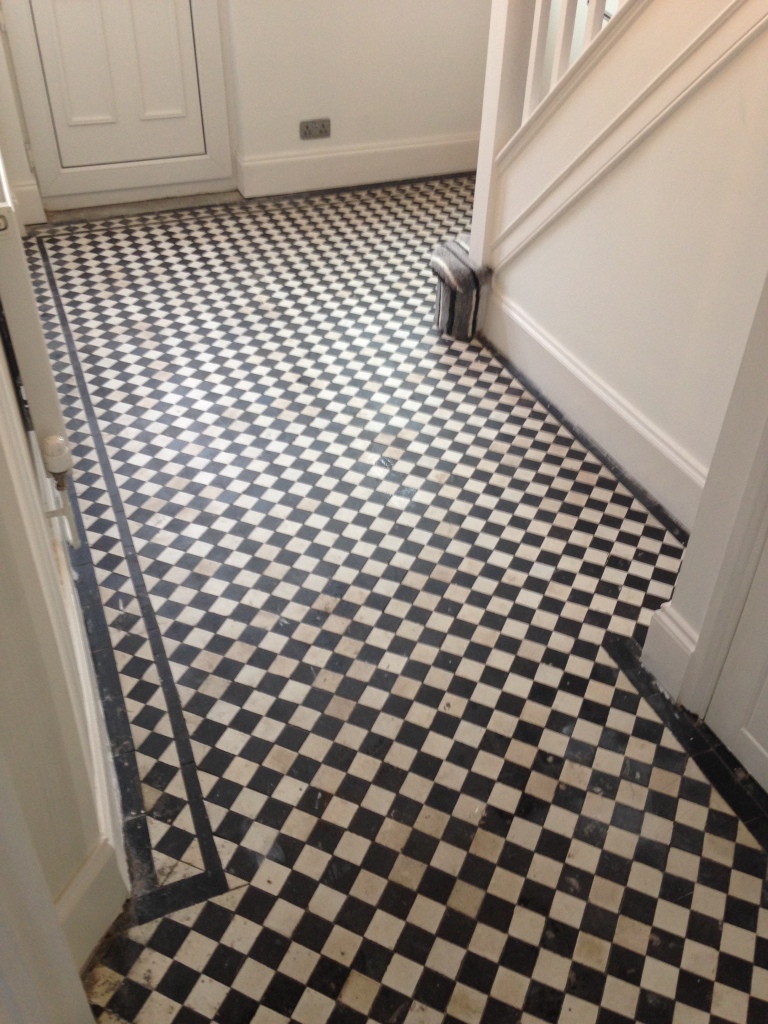
The Victorian tiled floor you can see below was discovered under a carpet at a property in Crosskeys on the outskirts of Newport. The owners understood it had been covered up for seventy years, yet remarkably it was still in good condition and they were keen to restore the floor as an original feature.
Having removed the carpet, they decided to have a go cleaning it themselves however soon realised there was more to this than they had bargained for including the need to seal the tiles. After doing more research on-line they decided to ask Tile Doctor to pop round and provide a quote.

I paid a visit to the property and conducted a test clean on a small part of the floor. Although it appeared to be clean it was evident from the test that there was a substantial amount of dirt that was still being held by the tiles. My client was gobsmacked by this as they had been cleaning it themselves.
I took time to explain how porous these encaustic cement tiles can be, and without an effective sealer in place dirt had become lodged deep within the pores of the tile and this needed to be flushed out before being re-sealed. Happy with my quote and keen to make the floor more manageable I was given the go-ahead to do the work.
Cleaning a Victorian Tiled Hallway Floor
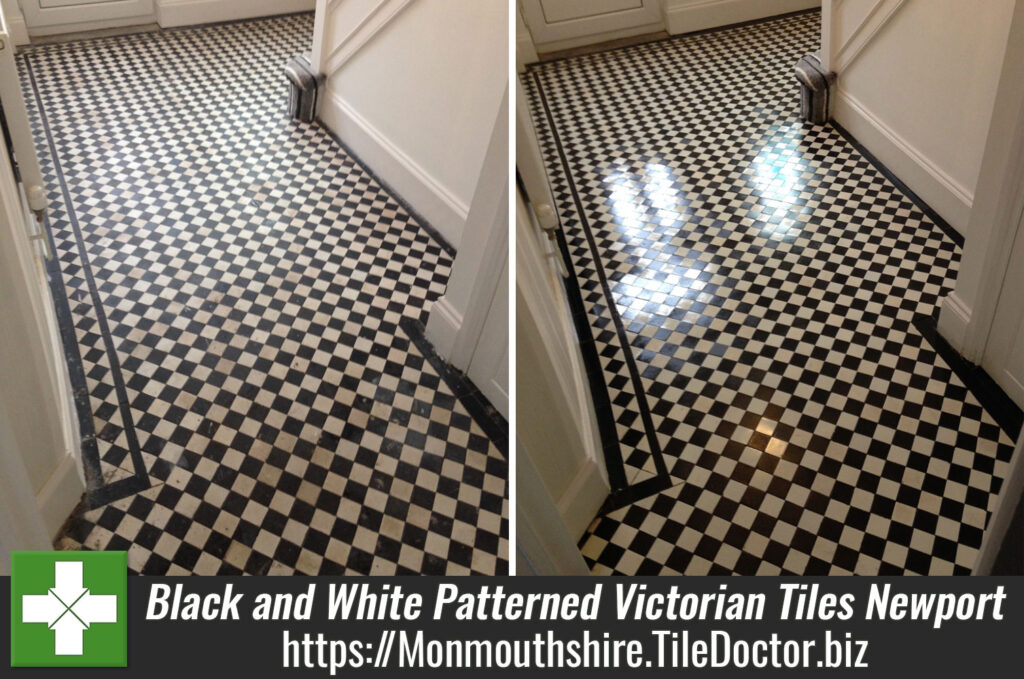
On my return I started the cleaning with a medium dilution of Tile Doctor Pro-Clean which was wiped over the entire floor and left to soak in. After fifteen minutes I used a 17-inch black pad attached to my rotary machine to scrub the solution deep into the floor and lift the ingrained dirt. The resultant slurry was then extracted using a wet dry vacuum.
After the floor was clean, I went around on my hands and knees using a 120-grit diamond block and blade scraper to remove any other debris that the machine could not reach such as in the corners, followed by a clean rinse with water ensuring there was no residue left on the floor.
The floor was then dried with the wet vacuum and left to dry for 24 hours.
Sealing a Victorian Tiled Hallway Floor
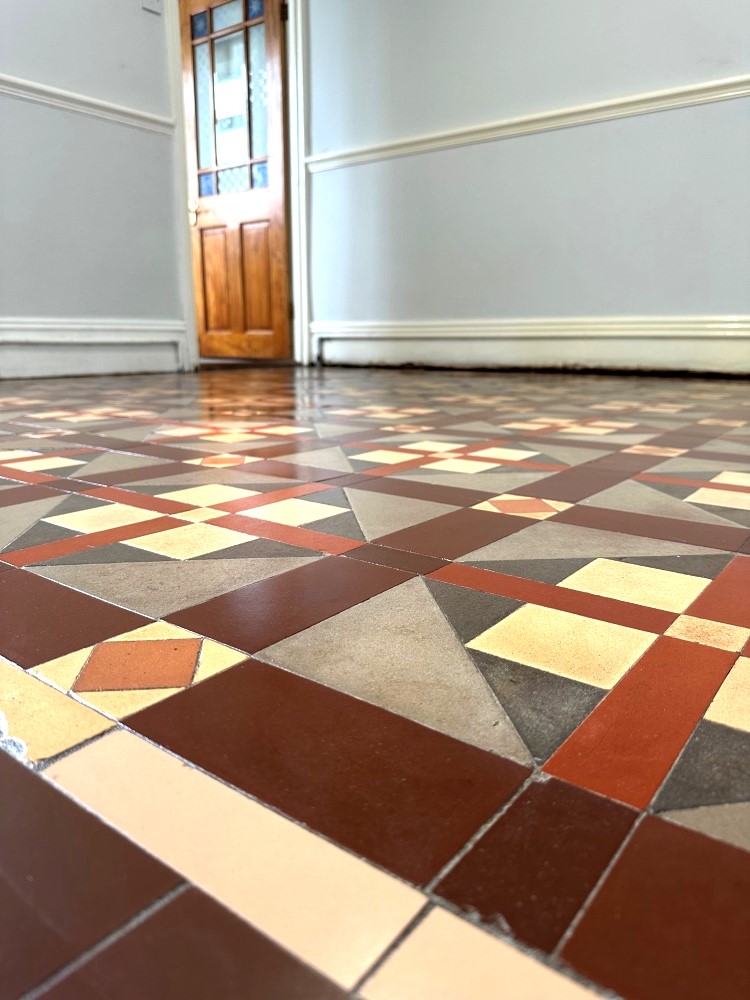
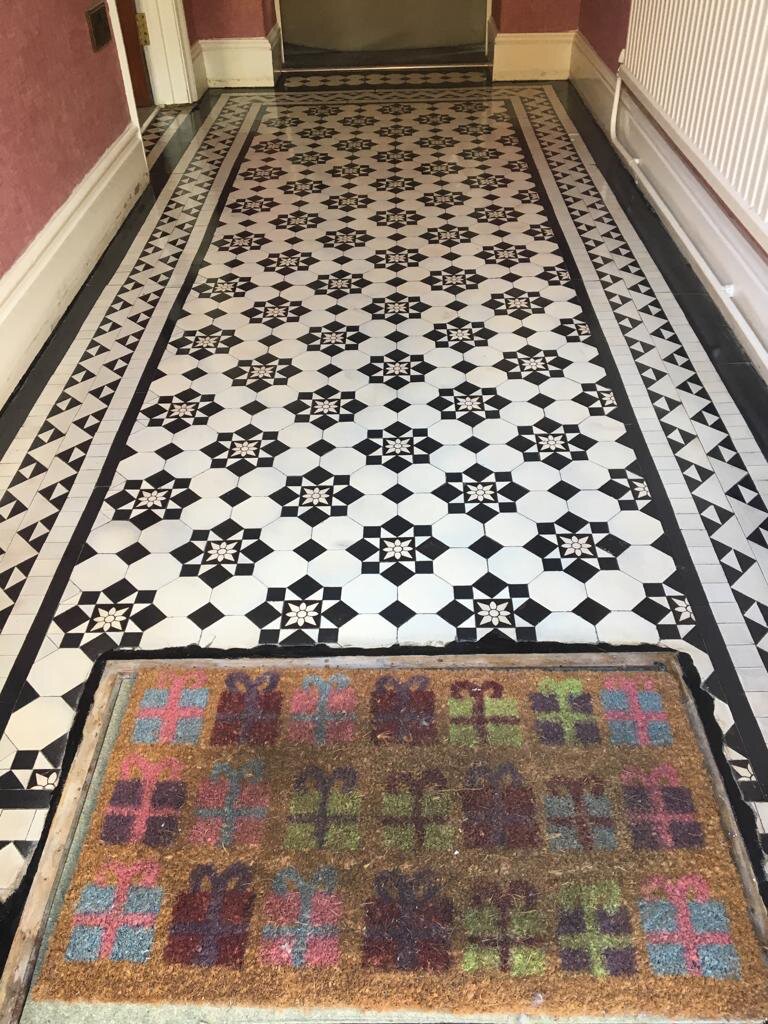
I returned later the next day and after confirmed the tiles had dried set about applying a sealer. The sealer works be preventing dirt from becoming ingrained in the porous tiles, keeping in on the surface where it can be easily cleaned away.
Tile Doctor have numerous sealers available for Victorian floors however in this case the client wanted a satin/wet look finish so we went with Tile Doctor Seal and Go.

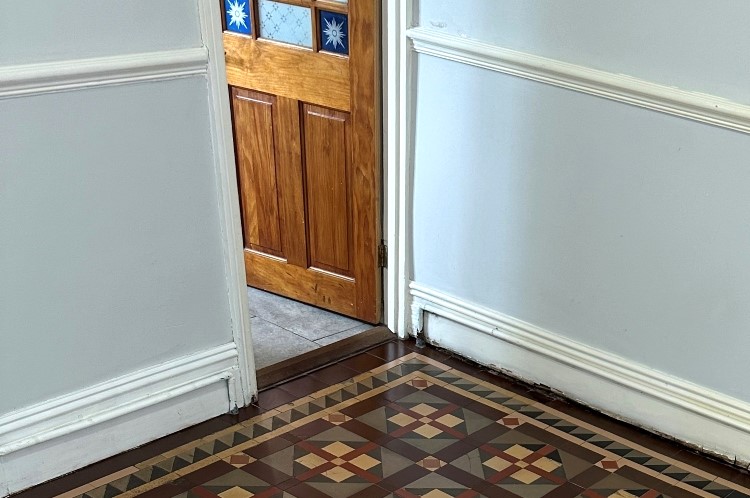
Several coats were needed to fully seal the tiles but it was well worth the effort as the sealer really brought the best out of the tiles and give the floor a very pleasing finish. The clients were extremely happy with the job and asked me to return later to work on renovating the bathroom tiling.
To maintain the sealer and to prevent accelerated break down I left the client with a bottle of Tile Doctor pH Neutral Tile Cleaner. Unlike the household cleaners on the market which tend to be acidic and break down the seal, this product will be gentle on the floor, it is mild enough to use daily and will ensure the floor stays looking great.
Professional Restoration of a Victorian Tiled Hallway in Monmouthshire
Deep Cleaning 70 Years of Ingrained Dirt from Victorian Floor Tiles in Crosskeys Read More »


