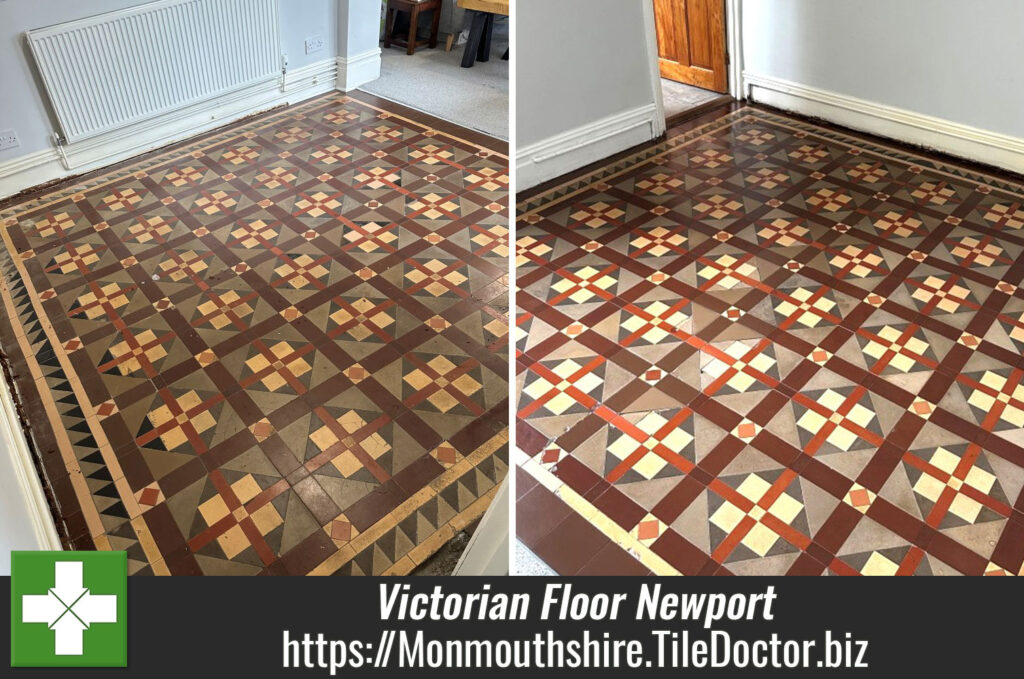
Repair and Renovation of a Victorian Tiled Dining Room Floor in Newport
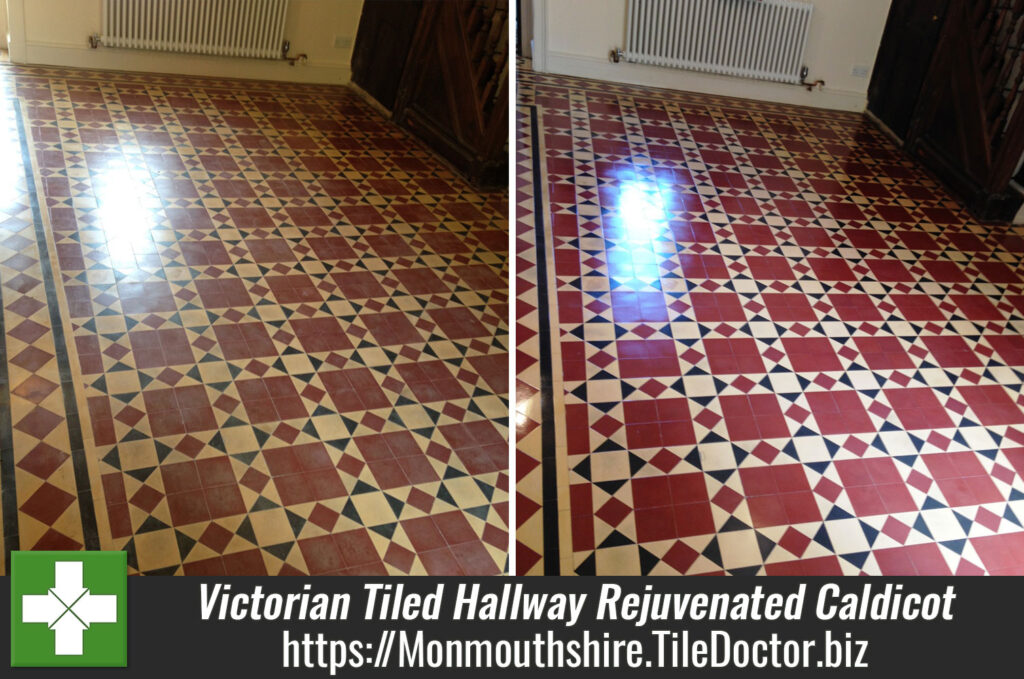
The client had lived at this property in Newport for a few years and decided that it was finally time to sort out the Victorian tiled floor in the dining room. Some repairs were needed in a few areas and the sealer was fading and due for replacement.

I went over to the property to survey the floor and advised that with repairs, cleaning and sealing the process would take two and a half days. Having worked on many many floors like these before I was very confident that we could repair the floor where needed and restore its appearance.
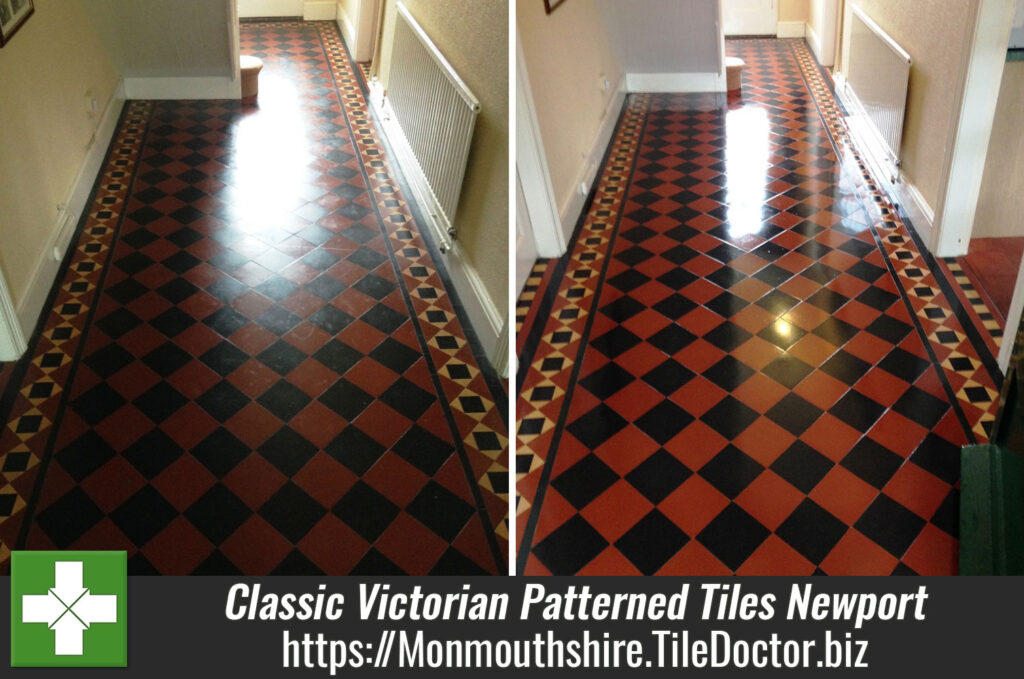
During the visit I noticed that at the door threshold leading into the kitchen, some of the tiles had been taken up for a gas pipe repair and back filled with cement, I suggested I could repair this section using matching tiles, so I included it in the quote. The quote to renovate and repair the floor was accepted and the job was booked in.

Cleaning and Repairing a Victorian Tiled Dining Room Floor
I began by addressing the tiling issues so my first course of action was to set matching tiles along the doorway border leading to the kitchen, as the previous tiles had already been removed by the gas company it was fairly straight forward job of carefully knocking out the cement. The tiles I had sourced were from a nearby reclamation yard and needed to be carefully cut to size to ensure a good fit with the original. After setting the tiles and grouting I left them to dry overnight.
The following day I began cleaning, using a combination of Tile Doctor Remove and Go and Pro-Clean, leaving the solution to dwell after being brushed into the floor. After around ten minutes the floor was scrubbed by hand with a stiff brush to release the dirt from the tiles. The resultant slurry was then vacuum away and with the floor cleaner I was able to get a better idea of which areas needed more attention.
I restored the perimeter of the floor with a 200-grit diamond block and this was followed up with a 200-grit diamond pad fitted to a rotary machine. These coarse pads cut into the tile surface removing years of grime and giving them a new lease of life. After another rinse and extraction with the wet vacuum the whole floor had a much brighter appearance. The process was then repeated with a 400-grit diamond pad to close the pores of the tiles.
The floor was then washed by hand with water and a sponge to make sure there wasn’t any areas missed, also to ensure there was no residue from the cleaning products left on the floor which could potentially disrupt the sealing process. The floor was then left to dry overnight ready for sealing the following day.
Sealing a Victorian Tiled Dining Room
To assist with drying I asked the client to leave a couple of air movers running during the evening and to put them back on in the morning. This worked well and by the next day I was able to confirm the floor was dry and ready for sealing with a moisture meter.
The client had requested a satin finish and so the sealer chosen was Tile Doctor Seal and Go, four coats were applied to the tiles a permanent wet look and gorgeous lustre. Another advantage of Seal and Go is that it’s a water-based sealer so it doesn’t give off a smell as it dries.

For aftercare I left the client a bottle of Tile Doctor pH Neutral Tile Cleaner to help maintain the appearance of the floor. This is a gentle tile cleaning product that won’t harm the sealer, many of the products you find in supermarkets are simply too strong for a sealed floor.

Professional Restoration of a Victorian Tiled Floor in Monmouthshire
Repair and Renovation of a Victorian Tiled Dining Room Floor in Newport Read More »